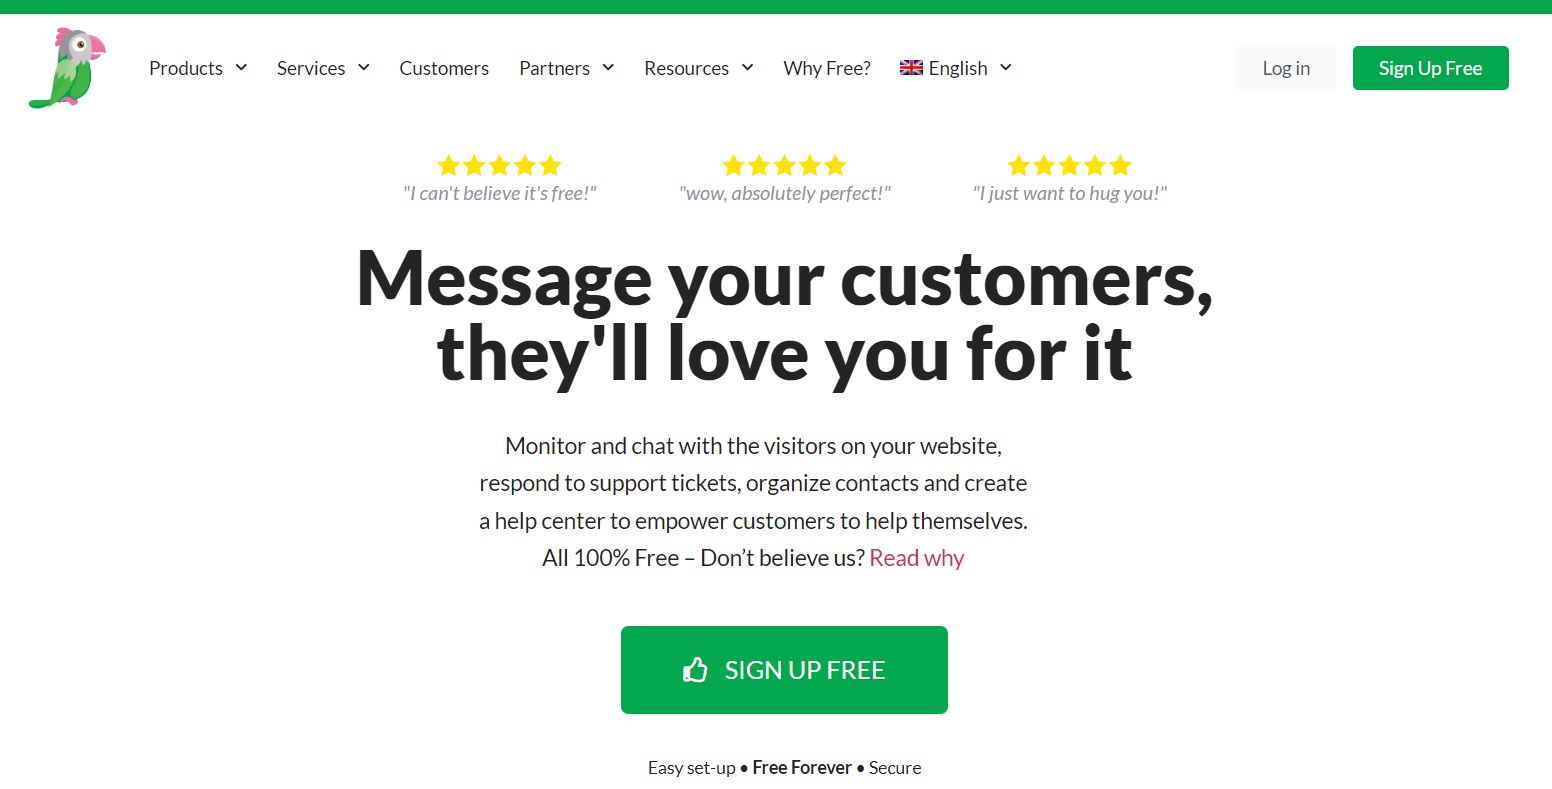
How to install tawk.to Live Chat on your Blogger site
To install tawk.to Live Chat on your Blogger website or .blogspot.com, you can follow these steps:
Step 1: Sign up for a tawk.to account
- Go to the tawk.to website (https://www.tawk.to/) and click on the “Sign Up” button.
- Fill in the required information to create your tawk.to account.
Step 2: Copy the widget code
- Once you have signed up and logged into your tawk.to account, click on the “Admin” gear icon at the top of the dashboard.
- In the left sidebar, under “Channels”, click on “Chat Widget” and then copy the “Widget Code”. Here’s a screenshot of the widget code.
Step 3: Add the embed the widget code to your Blogger website
- Log in to your Blogger account and go to your Blogger dashboard.
- In the left sidebar, click on “Theme” and then click on “Edit HTML” to access the HTML editor.
- Find the <body> tag in the HTML code. It is usually located towards the end of the code.
- Just above the </body> tag, paste or insert the tawk.to widget code that you copied in Step 2.
- Save the changes to your template.
- After clicking the save button, you may visit your blogger site to view the chat widget.
Step 4: Customizing the chat widget’s appearance
- Go back to the tawk.to dashboard
- And then, under “Channels“, click “Chat widget”
- And then, locate the “Widget Appearance” section, then click “Advanced”.
- You should be able customize the: color, size, position, chat icon, and the attention grabber on this section. Here’s a screenshot of the widget appearance section.
That’s it! You have successfully installed tawk.to Live Chat on your Blogger website. Visitors to your website will now be able to use the live chat feature provided by tawk.to.
Unlocking Customer Communication: Discover the Power of tawk.to
In the fast-paced digital landscape, effective communication with your website visitors is paramount. Enter tawk.to – your all-in-one solution for seamless live chat and customer engagement.
What is tawk.to?
tawk.to is a cutting-edge live chat application designed to elevate your customer interaction game. It empowers businesses to connect with website visitors in real time, fostering instant communication that can make all the difference in converting leads into loyal customers.
Key Features:
- Live Chat Functionality:
- Engage with your audience in real time through the user-friendly live chat interface. Answer queries, assist, and guide potential customers through their journey.
- Customization:
- Tailor the chat widget to align with your brand identity. Choose colours, themes, and even language preferences to create a seamless brand experience for your visitors.
- Visitor Monitoring:
- Gain valuable insights into visitor behaviour. Track the pages they are viewing, their location and the duration of their stay. Use this data to understand customer preferences and enhance your website’s user experience.
- Mobile Accessibility:
- Stay connected on the go. tawk.to offer mobile apps for iOS and Android, ensuring that you can respond to customer inquiries anytime, anywhere.
- Automation and Triggers:
- Streamline your workflow by automating routine responses. Set up triggers to initiate chats based on specific visitor actions, providing a personalised touch to your customer interactions.
- Multi-Language Support:
- Break language barriers with tawk.to’s multilingual support. Communicate with your global audience effortlessly, making your brand accessible to a diverse range of customers.
Why Choose tawk.to?
- User-Friendly Interface: The intuitive design of tawk.to ensures that both your team and customers can navigate the platform effortlessly.
- Cost-Effective: Enjoy the benefits of a feature-rich live chat platform without breaking the bank. tawk.to offers a free version with essential features, making it accessible to businesses of all sizes.
- Real-Time Visitor Analytics: Leverage insights derived from visitor data to refine your marketing strategies and enhance the overall user experience on your website.
- Scalability: As your business grows, tawk.to scales with you. Whether you’re a startup or an enterprise, this platform can accommodate your evolving communication needs.
In a digital era where customer engagement is a make-or-break factor, tawk.to emerges as a game-changer. Elevate your online presence, build lasting customer relationships, and boost conversions with the power of tawk.to’s live chat functionality. Try it today and witness the transformative impact on your customer communication strategy.
